Hướng dẫn khắc phục lỗ hổng bảo mật CVE-2019-11477 trên Cloud365
Hướng dẫn khắc phục lỗ hổng bảo mật CVE-2019-11477 trên Cloud365
Nơi chứa các tài liệu tham khảo của dịch vụ Cloud365.

Pritunl là phần mềm mã nguồn mở được sử dụng để ảo hóa VPN server trên hạ tầng các trung tâm dữ liệu. Đồng thời cung cấp phương thức truy cập từ xa đơn giản trong vòng vài phút
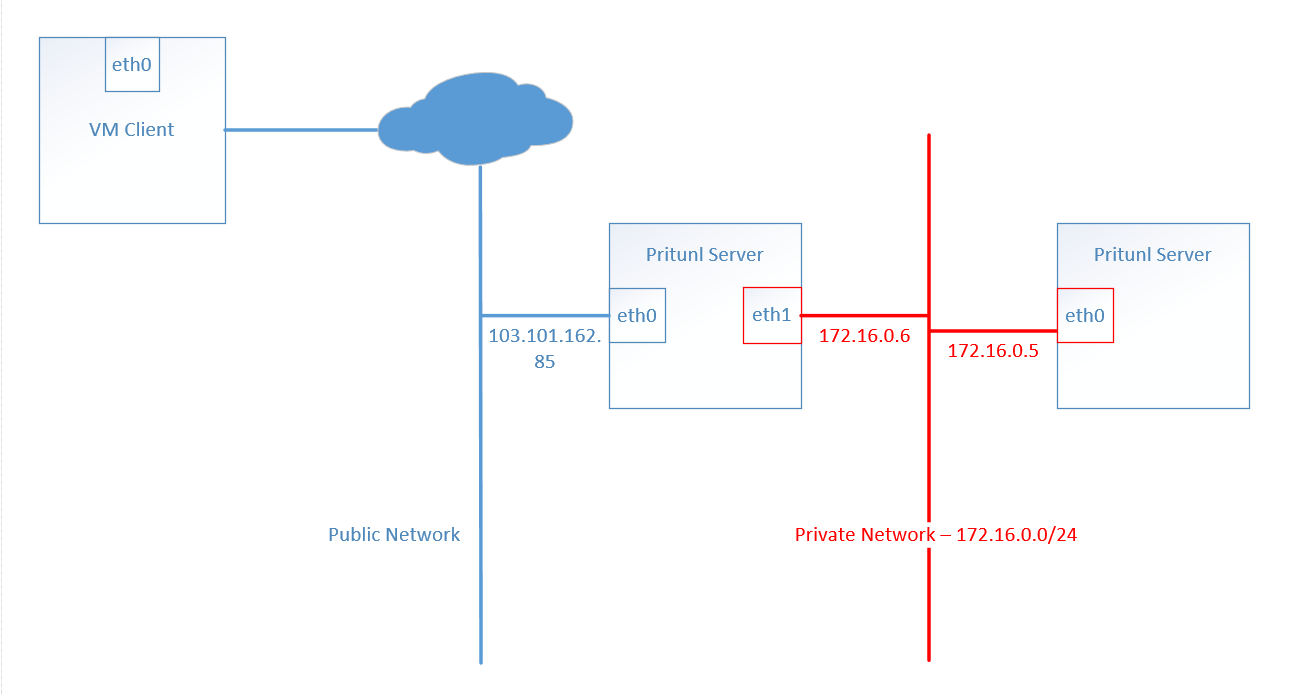
Mô hình thử nghiệm sử dụng 3 máy ảo, trong đó:
VM Pritunl đóng vai trò VPN Server.VM Client đóng vai trò VPN Client.VM Target sau khi cấu hình thành công khi máy remote quay VPN thành công và ping được tới dải Private LAN, và ra được internet.sudo tee /etc/yum.repos.d/mongodb-org-4.0.repo << EOF
[mongodb-org-4.0]
name=MongoDB Repository
baseurl=https://repo.mongodb.org/yum/redhat/7/mongodb-org/4.0/x86_64/
gpgcheck=1
enabled=1
gpgkey=https://www.mongodb.org/static/pgp/server-4.0.asc
EOF
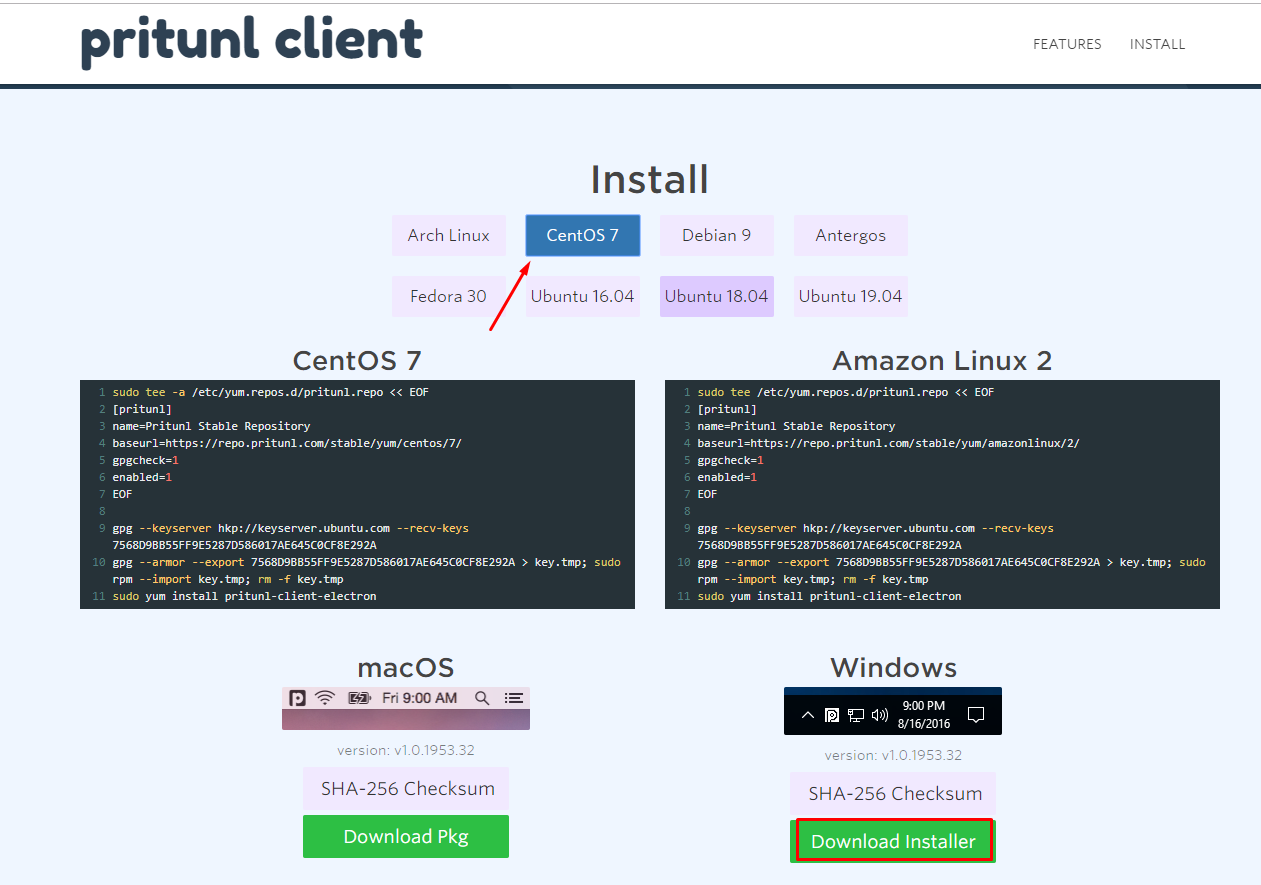
sudo tee /etc/yum.repos.d/pritunl.repo << EOF
[pritunl]
name=Pritunl Repository
baseurl=https://repo.pritunl.com/stable/yum/centos/7/
gpgcheck=1
enabled=1
EOF
sudo rpm -Uvh https://dl.fedoraproject.org/pub/epel/epel-release-latest-7.noarch.rpm
gpg --keyserver hkp://keyserver.ubuntu.com --recv-keys 7568D9BB55FF9E5287D586017AE645C0CF8E292A
gpg --armor --export 7568D9BB55FF9E5287D586017AE645C0CF8E292A > key.tmp;
sudo rpm --import key.tmp; rm -f key.tmp
sudo yum -y install pritunl mongodb-org
sudo systemctl start mongod pritunl
sudo systemctl enable mongod pritunl
sudo sh -c 'echo "* hard nofile 64000" >> /etc/security/limits.conf'
sudo sh -c 'echo "* soft nofile 64000" >> /etc/security/limits.conf'
sudo sh -c 'echo "root hard nofile 64000" >> /etc/security/limits.conf'
sudo sh -c 'echo "root soft nofile 64000" >> /etc/security/limits.conf'
Cấu hình truy cập:
https://<ip>setup-keysudo pritunl setup-key
setup-key và Save: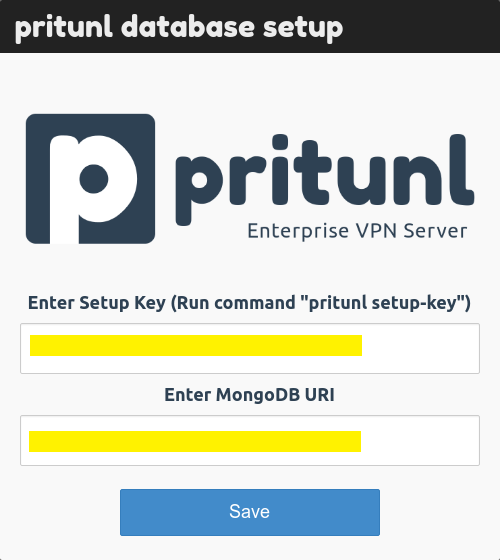
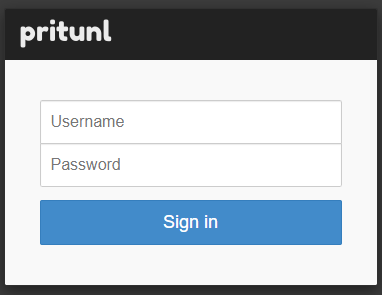
sudo pritunl default-password

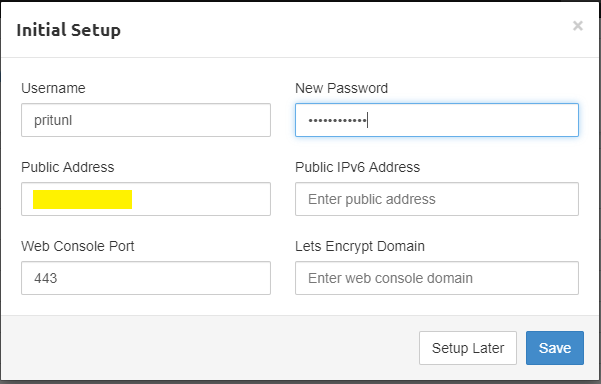
Cấu hình :
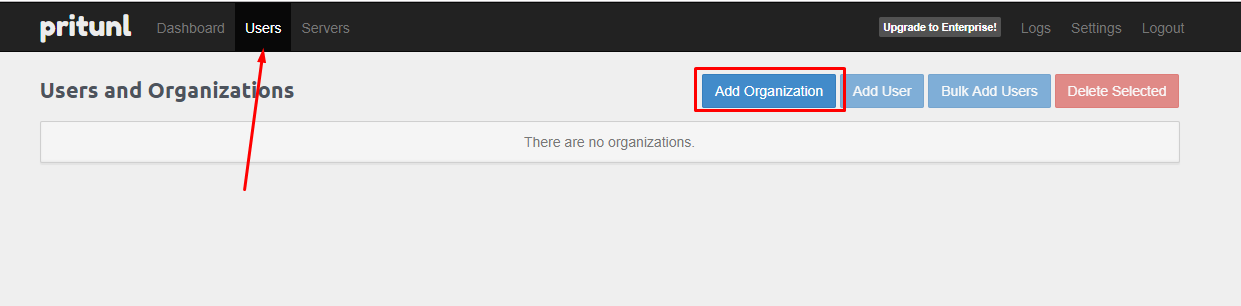
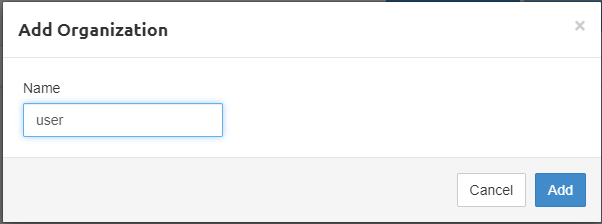
Users, chọn Add organization, đặt tên cho Organization:
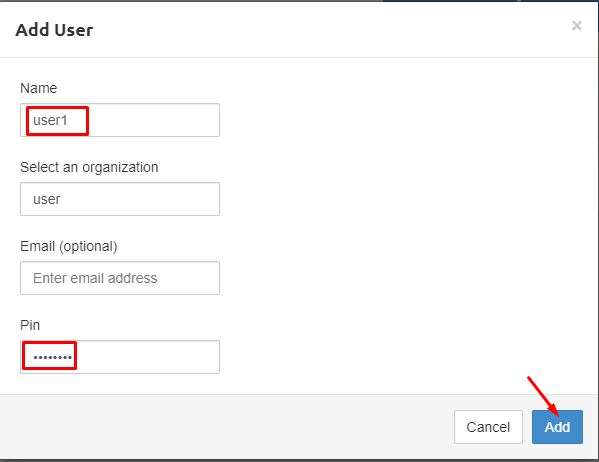
Organization, lựa chọn Add user: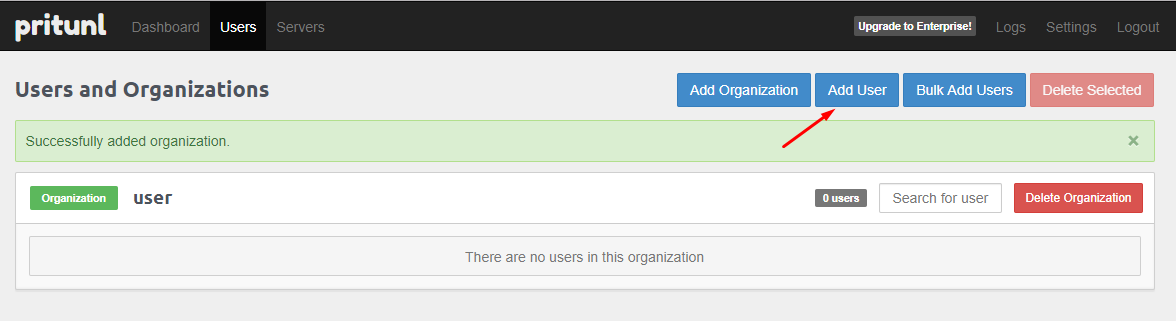
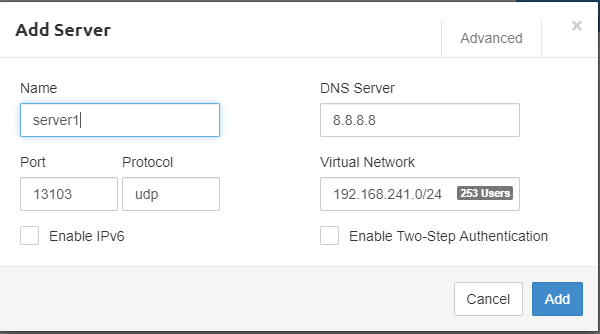
Servers, chọn Add Server, khai báo các thông tin cho Server:

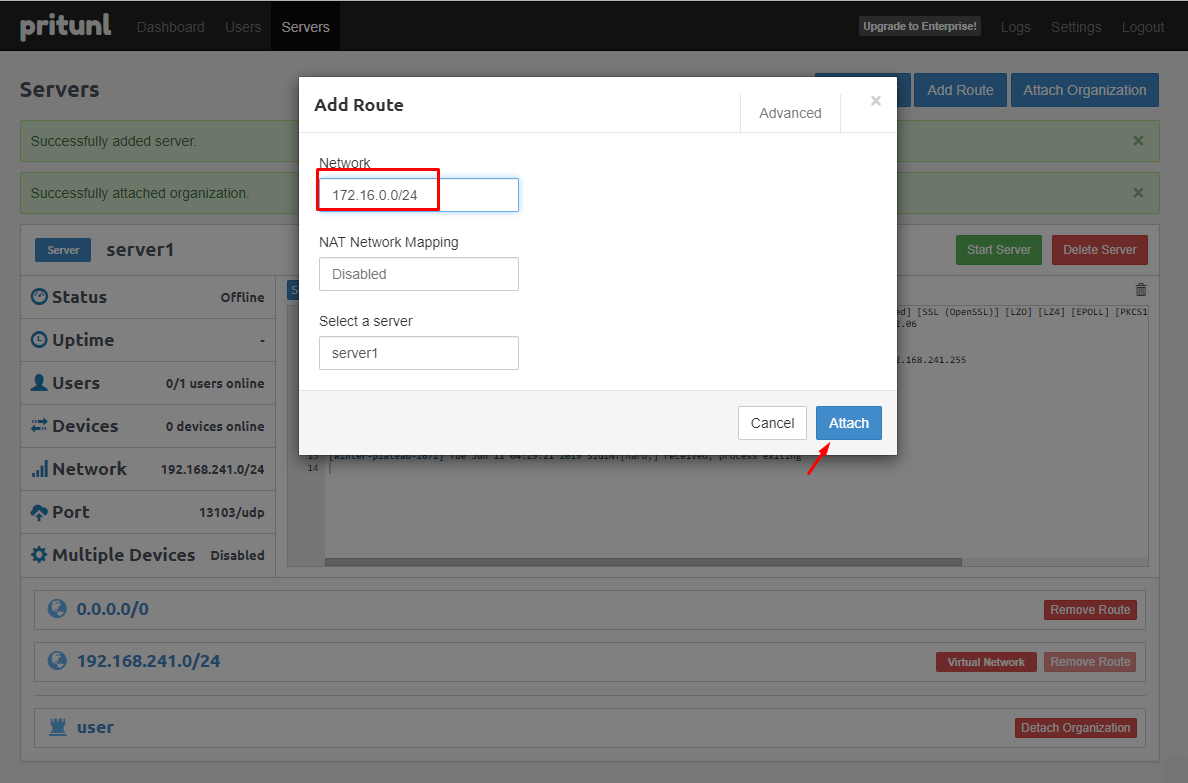
Add Route để add thêm route về dải Private Network: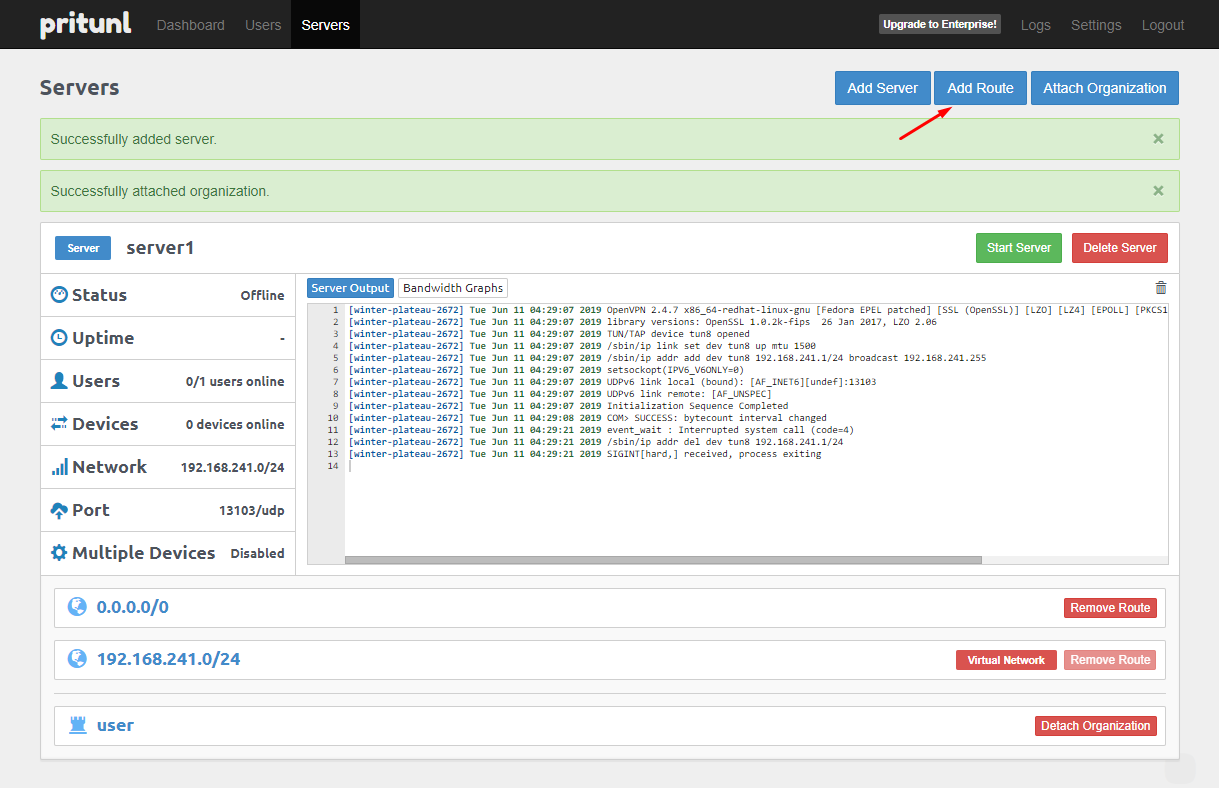
Attach Organization: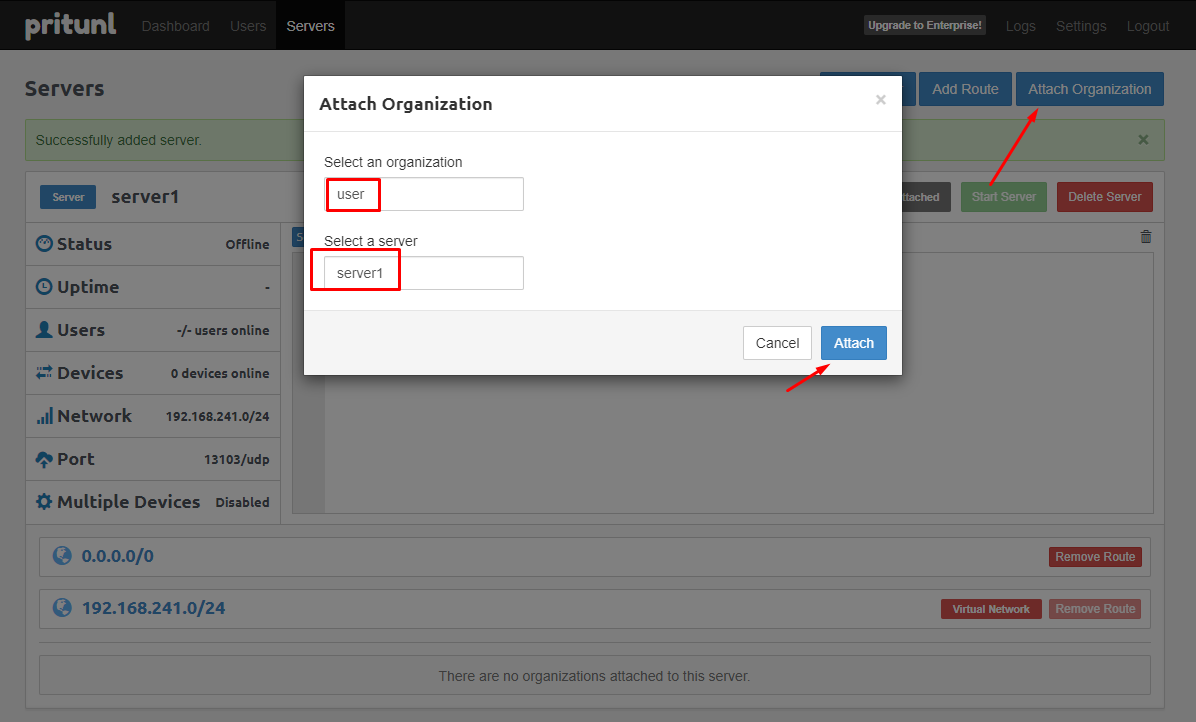
Start Server: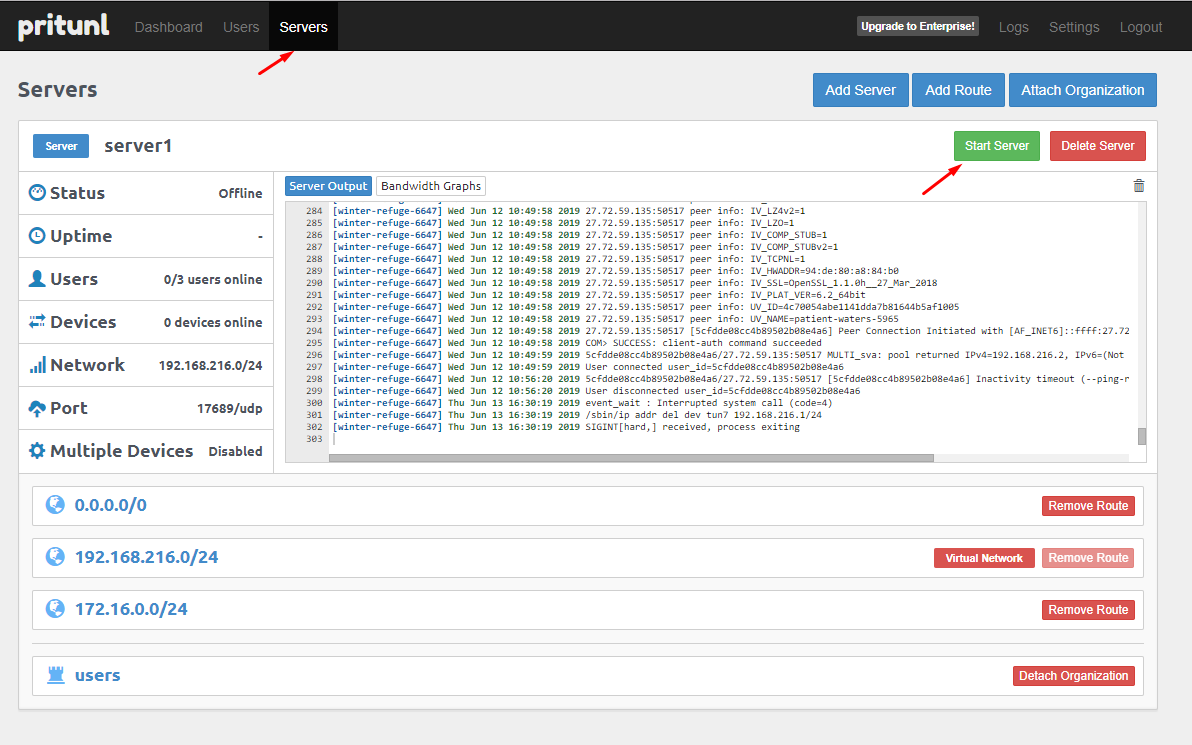
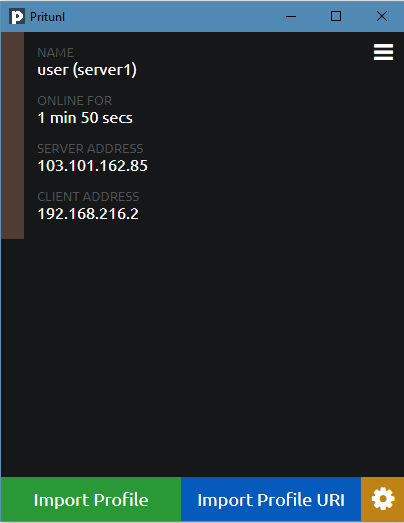
Kết nối Client
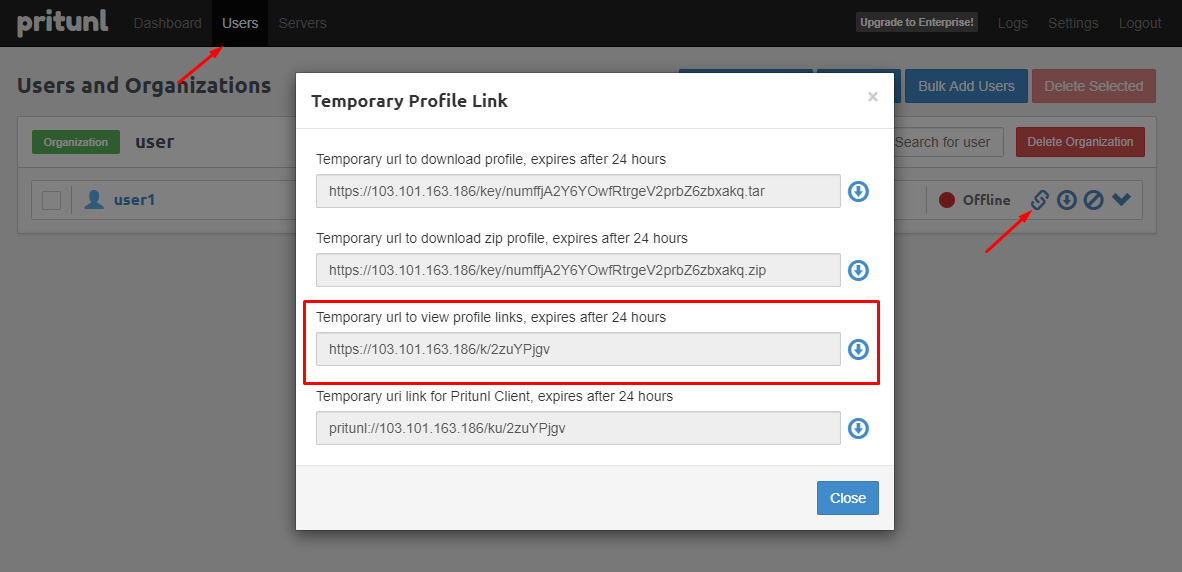
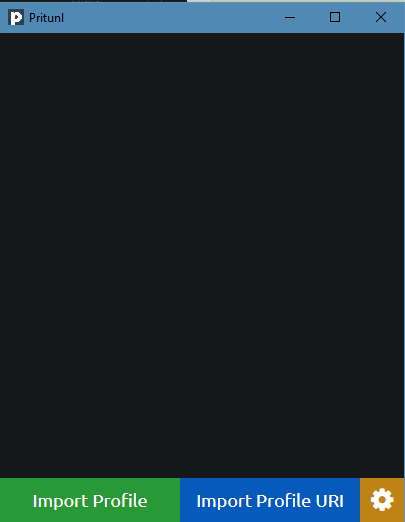
Import Profile URI và nhập Profile URI đã copy phía trên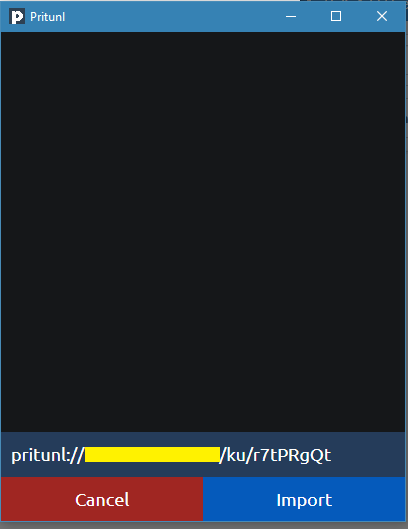
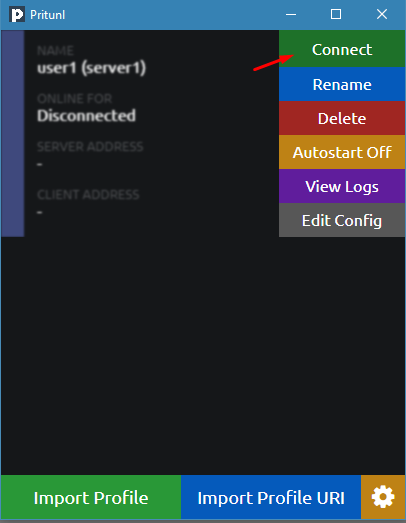
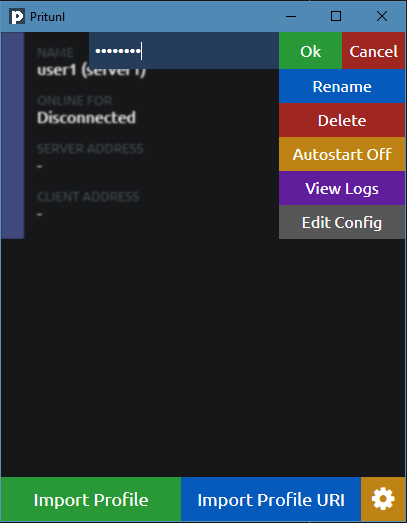
Connect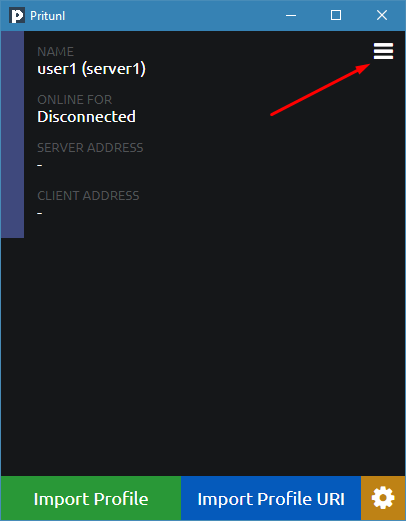
ping 172.16.0.6

Pinging 172.16.0.6 with 32 bytes of data:
Reply from 172.16.0.6: bytes=32 time=4ms TTL=63

Ping statistics for 172.16.0.6:
    Packets: Sent = 1, Received = 1, Lost = 0 (0% loss),
Approximate round trip times in milli-seconds:
    Minimum = 4ms, Maximum = 4ms, Average = 4ms

ping 172.16.0.5

Pinging 172.16.0.5 with 32 bytes of data:
Reply from 172.16.0.5: bytes=32 time=3ms TTL=64
Reply from 172.16.0.5: bytes=32 time=4ms TTL=64
Thực hiện bởi cloud365.vn