Hướng dẫn khắc phục lỗ hổng bảo mật CVE-2019-11477 trên Cloud365
Hướng dẫn khắc phục lỗ hổng bảo mật CVE-2019-11477 trên Cloud365
Nơi chứa các tài liệu tham khảo của dịch vụ Cloud365.
Sau khi triển khai zabbix server để có thể giám sát được các thông số (RAM, CPU, Disk…) của client ta phải cài đặt zabbix agent, cấu hình và add host cần giám sát lên zabbix server. Ở bài hướng dẫn này giới thiệu cho các bạn các bước để giám sát một zabbix client chạy hệ điều hành CentOS.
1. Cài đặt, cấu hình zabbix agent
2. Add host zabbix agent lên zabbix server
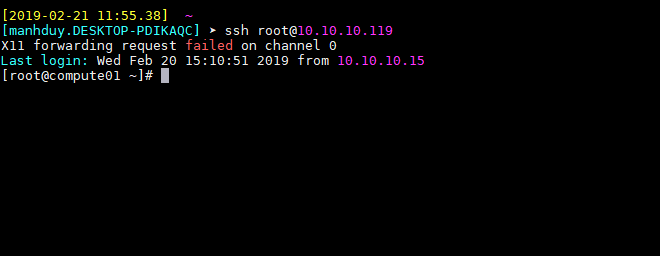
Truy cập host CentOS 10.10.10.119
Thêm zabbix agent repository
CentOS 7 / RHEL 7
rpm -ivh https://repo.zabbix.com/zabbix/4.0/rhel/7/x86_64/zabbix-release-4.0-1.el7.noarch.rpm
CentOS 6 / RHEL 6
rpm -ivh https://repo.zabbix.com/zabbix/4.0/rhel/6/x86_64/zabbix-release-4.0-1.el6.noarch.rpm
Cài đặt
yum install -y zabbix-agent
Check zabbix-agent
zabbix_agentd -V

Khi cài đặt zabbix agent lên CentOS file cấu hình zabbix agent được đặt ở /etc/zabbix/zabbix_agentd.conf. Thực hiện các câu lệnh dưới cấu hình để mở port 10050, chỉ định IP zabbix server.
Sau mỗi thay đổi config zabbix agent bạn phải khởi đông lại và kiểm tra trạng thái service zabbix-agent.
cp /etc/zabbix/zabbix_agentd.conf /etc/zabbix/zabbix_agentd.conf.bk
sed -i 's/Server=127.0.0.1/Server=10.10.10.115/g' /etc/zabbix/zabbix_agentd.conf
sed -i 's/# ListenPort=10050/ListenPort=10050/g' /etc/zabbix/zabbix_agentd.conf
sed -i 's/ServerActive=127.0.0.1/ServerActive=10.10.10.115/g' /etc/zabbix/zabbix_agentd.conf
systemctl enable zabbix-agent
systemctl start zabbix-agent
systemctl restart zabbix-agent
systemctl status zabbix-agent
Lưu ý: Nếu host của bạn mở firewall thì phải mởi port 10050 để zabbix client giao tiếp với zabbix server.
firewall-cmd --add-port=10050/tcp --permanent
firewall-cmd --reload

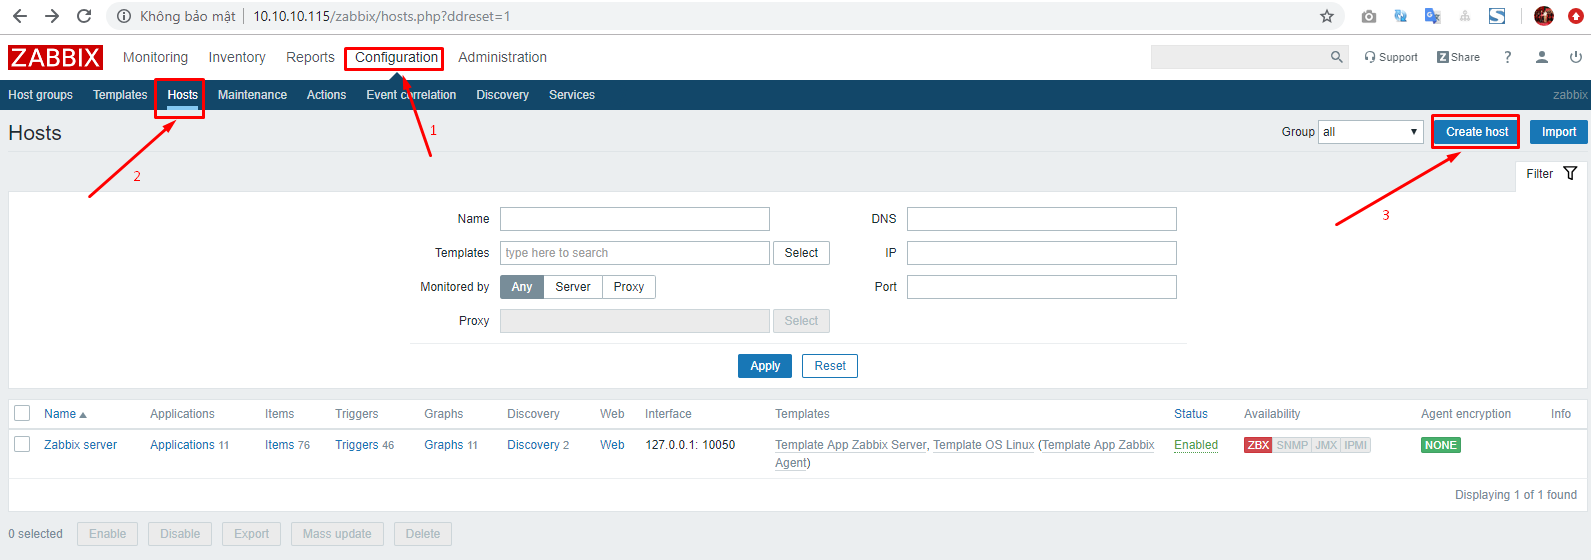
Trên web dashboard của zabbix server click Configuration -> Hosts -> Create Host -> Host
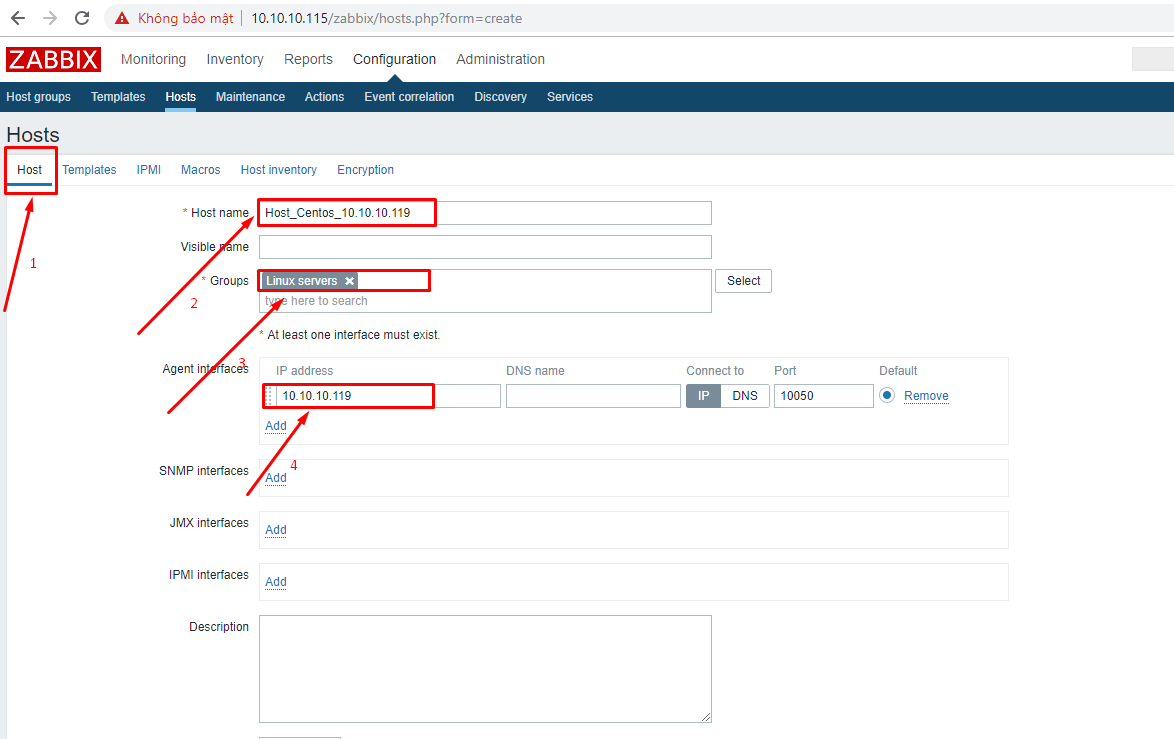
Nhập thông tin host client
Host name:
Group:
Agent interfaces:
Lựa chọn template
Chuyển sang tab Temaplates -> Select
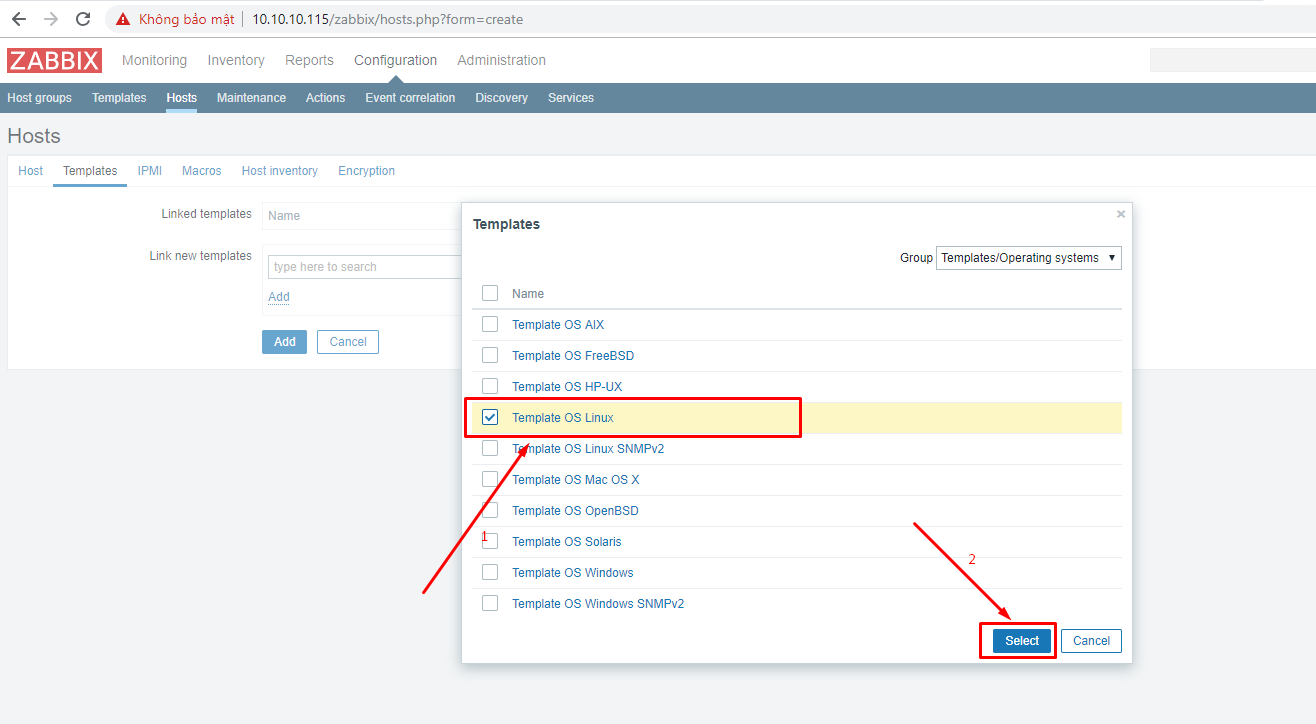
Lựa chọn Template phù hợp với client của bạn.
Click Add
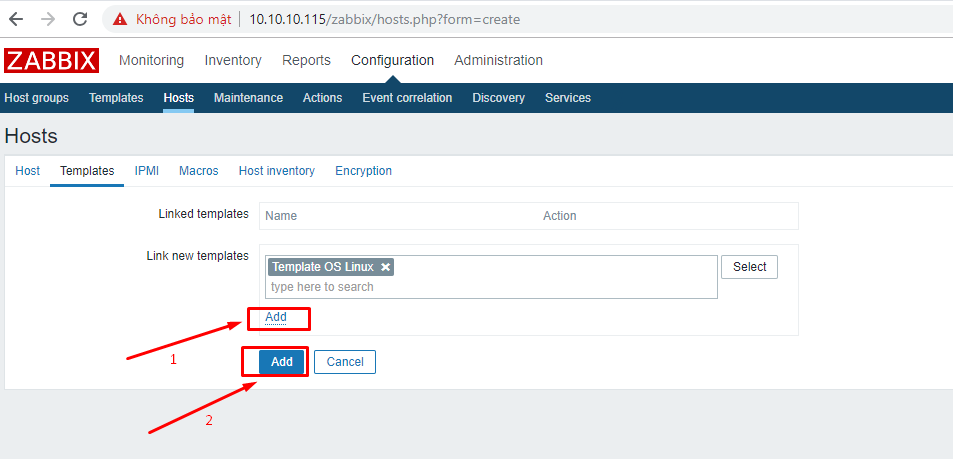
Add host thành công
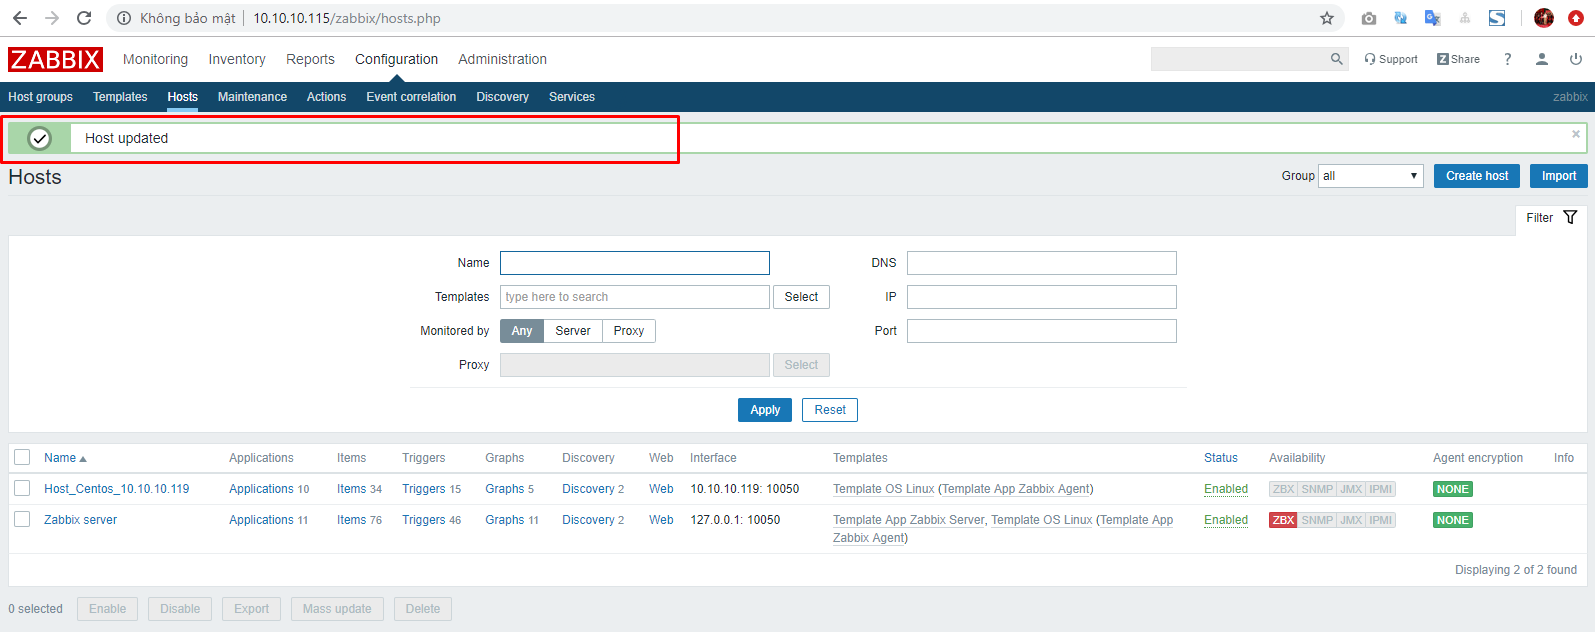
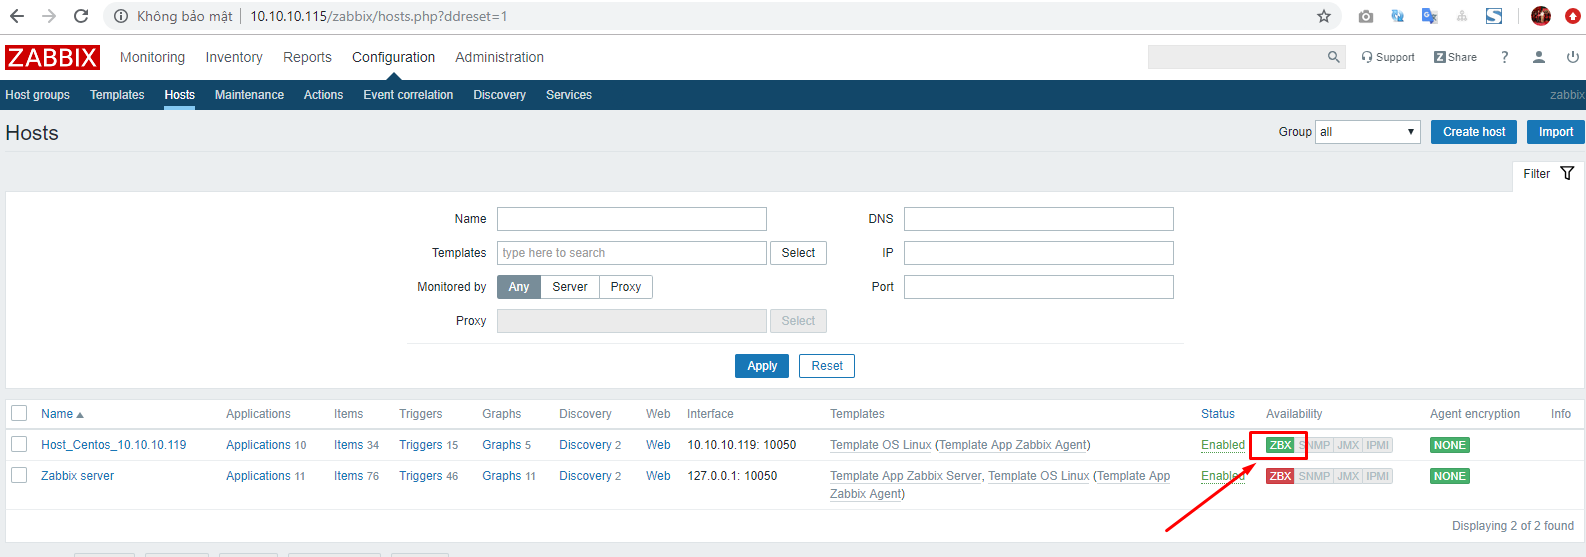
Chờ một lúc để client kết nối tới zabbix server. Khi biểu tượng zabbix agent đổi màu xanh là ta đã add host thành công.
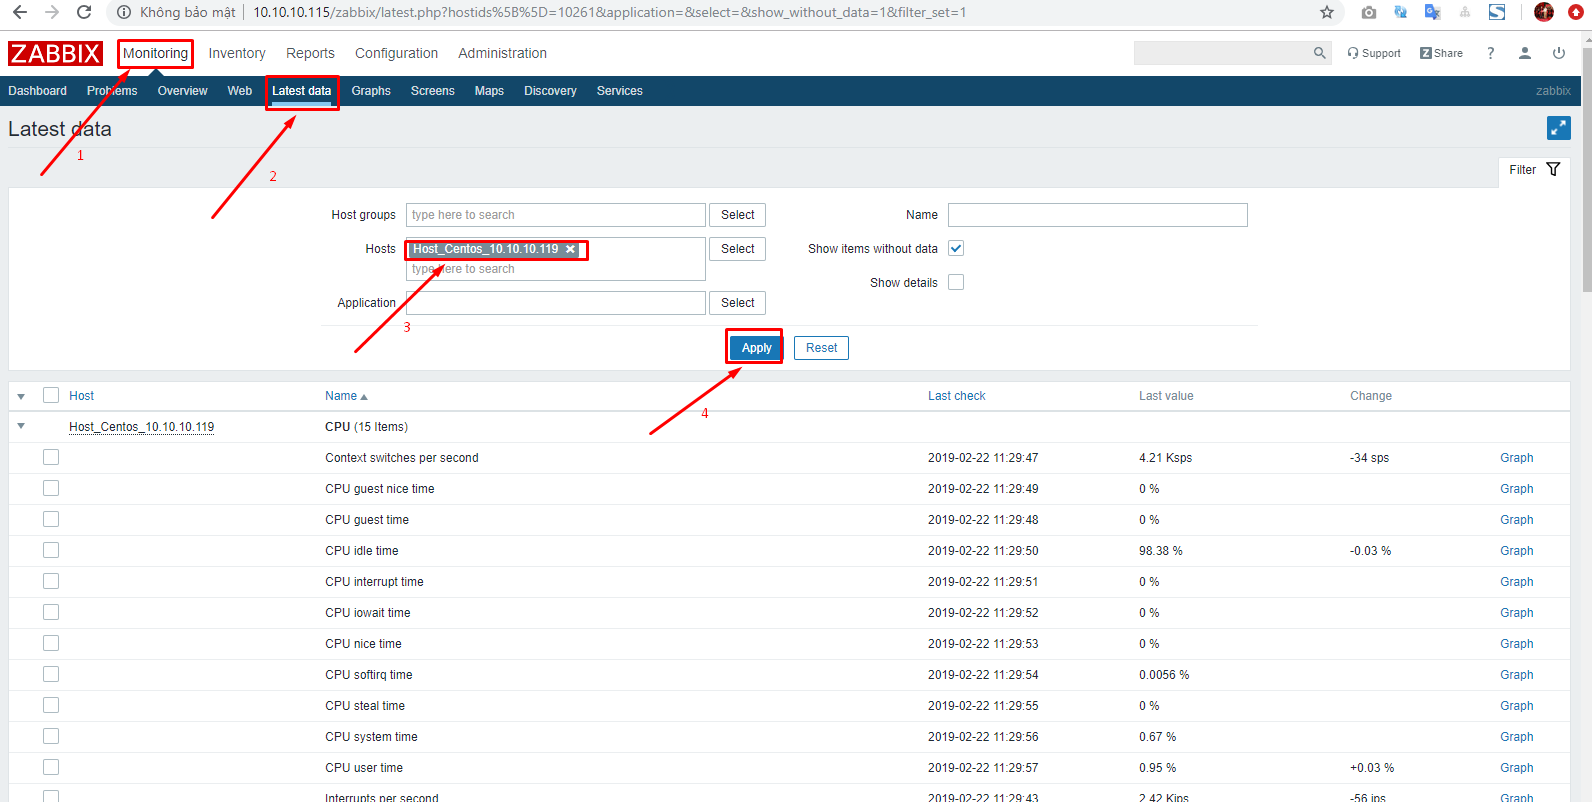
Kiểm tra thông số monitor
Click Monitoring -> Lastest data -> Lựa chọn host -> Apply
Hy vọng những hướng dẫn trên giúp bạn có thể giám sát thành công một host CentOS trên zabbix server.
Thực hiện bởi cloud365.vn