1. Nextcloud [Part 1] - Cài đặt Nextcloud trên CentOS 7
Cài đặt Nextcloud trên CentOS 7
Nơi chứa các tài liệu tham khảo của dịch vụ Cloud365.
![]()
Ở bài viết trước chúng ta đã biết được về ownCloud là một phần mềm mã nguồn mở được sử dụng cho các dịch vụ lưu trữ tệp. Vậy còn NextCloud?
NextCloud là một nhánh được fork ra và phát triển riêng trên từ OwnCloud, nó được định hướng phát triển bởi một số thành viên cũ của OwnCloud. Trong khi Owncloud chậm cập nhật các tính năng thì NextCloud tập trung vào release và bổ sung các tính năng mà người dùng feedback.
NextCloud cũng giống như OwnCloud hỗ trợ trên hầu như tất cả các Client hiện có
1 Server
rootyum install -y epel-release
yum update -y
Mở firewalld cho traffic của httpd (web) đi qua
firewall-cmd --permanent --zone=public --add-service=http
firewall-cmd --permanent --zone=public --add-service=https
firewall-cmd --reload
Cấu hình disable SElinux
sudo setenforce 0
sed -i 's/SELINUX=enforcing/SELINUX=disabled/g' /etc/sysconfig/selinux
sed -i 's/SELINUX=permissive/SELINUX=disabled/g' /etc/sysconfig/selinux
sed -i 's/SELINUX=enforcing/SELINUX=disabled/g' /etc/selinux/config
sed -i 's/SELINUX=permissive/SELINUX=disabled/g' /etc/selinux/config
sudo yum -y install httpd
Khởi động httpd
sudo systemctl start httpd.service
Khởi động httpd cùng hệ thống
sudo systemctl enable httpd.service
Kiểm tra ip hiện tại của Server
ip addr show eth0 | grep inet | awk '{ print $2; }' | sed 's/\/.*$//'
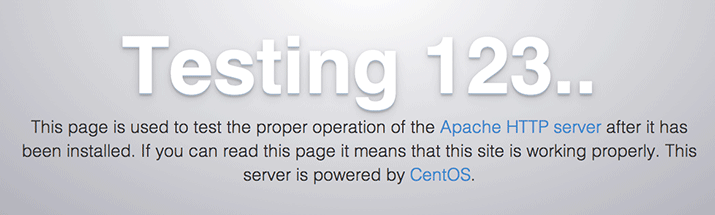
Truy cập
http://your_server_IP_address/
Cài đặt
sudo yum install -y mariadb-server
Start MariaDB
sudo systemctl start mariadb
Cài đặt mật khẩu root cho MariaDB
sudo mysql_secure_installation
Mặc đinh mật khẩu root của mysql sẽ để trống. Bước này có thể có hoặc không có tùy nhu cầu của Administrators
Khởi động MariaDB
sudo systemctl enable mariadb.service
Tạo DB và user
mysql
CREATE DATABASE nextcloud;
CREATE USER 'nc_user'@'localhost' IDENTIFIED BY 'YOUR_PASSWORD_HERE';
GRANT ALL PRIVILEGES ON nextcloud.* TO 'nc_user'@'localhost';
FLUSH PRIVILEGES;
exit
yum install -y http://rpms.remirepo.net/enterprise/remi-release-7.rpm
yum install -y yum-utils
yum-config-manager --enable remi-php72
yum install php php-mysql php-dom php-mbstring php-gd php-ldap php-pdo php-json php-xml php-zip php-curl php-mcrypt php-pear php-intl setroubleshoot-server -y
Phiên bản hiện tại 15.0.7 Download
yum install wget -y
wget https://download.nextcloud.com/server/releases/nextcloud-15.0.7.zip -O /opt/nextcloud.zip
Giải nén
yum install unzip -y
unzip /opt/nextcloud.zip -d /var/www/
rm -f /opt/nextcloud.zip
Phân quyền
sudo chmod 755 -R /var/www/nextcloud/
sudo chown apache. -R /var/www/nextcloud/
Bổ sung config cho httpd
cat << EOF >> /etc/httpd/conf.d/nextcloud.conf

<VirtualHost *:80>

ServerAdmin admin@yourdomain.com
DocumentRoot /var/www/nextcloud
#ServerName yourdomain.com
#ServerAlias www.yourdomain.com

<Directory /var/www/html/nextcloud>
Options +FollowSymlinks
AllowOverride All

<IfModule mod_dav.c>
Dav off
</IfModule>

SetEnv HOME /var/www/nextcloud
SetEnv HTTP_HOME /var/www/nextcloud
</Directory>

ErrorLog /var/log/httpd/nextcloud-error_log
CustomLog /var/log/httpd/nextcloud-access_log common

</VirtualHost>
EOF
Reload lại httpd
sudo systemctl restart httpd
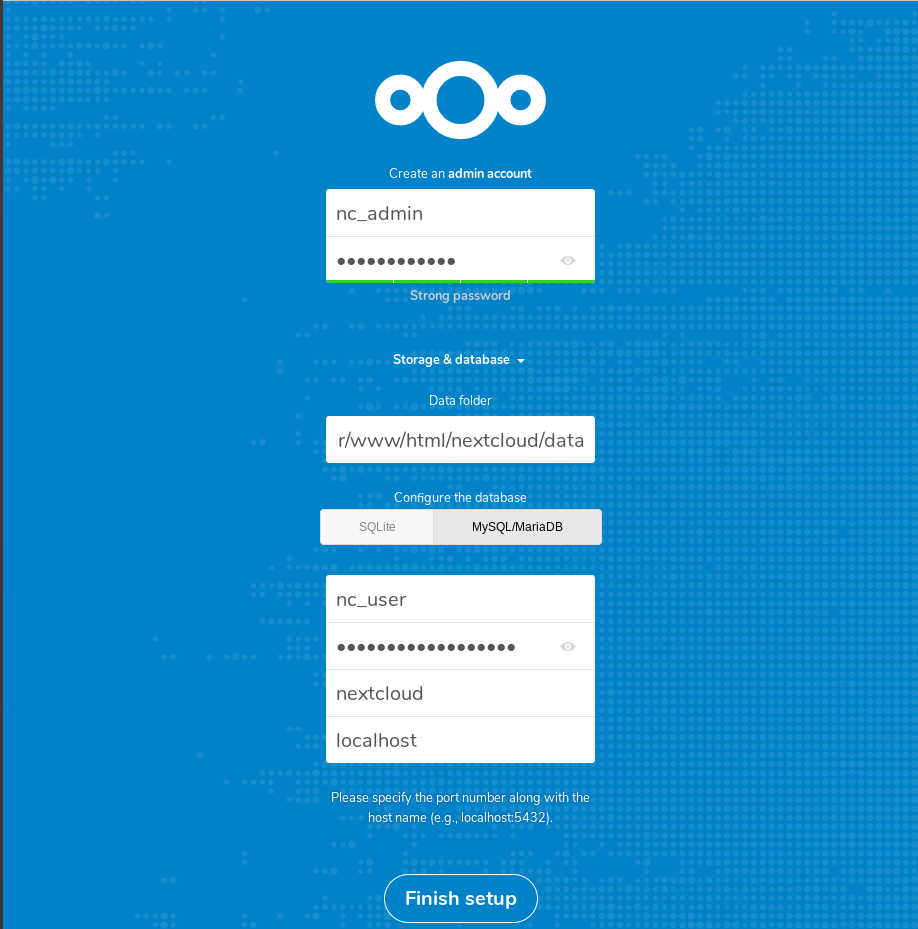
https://server_domain_or_IP/
Kết nối tài khoản MySQL đã tạo phía trên
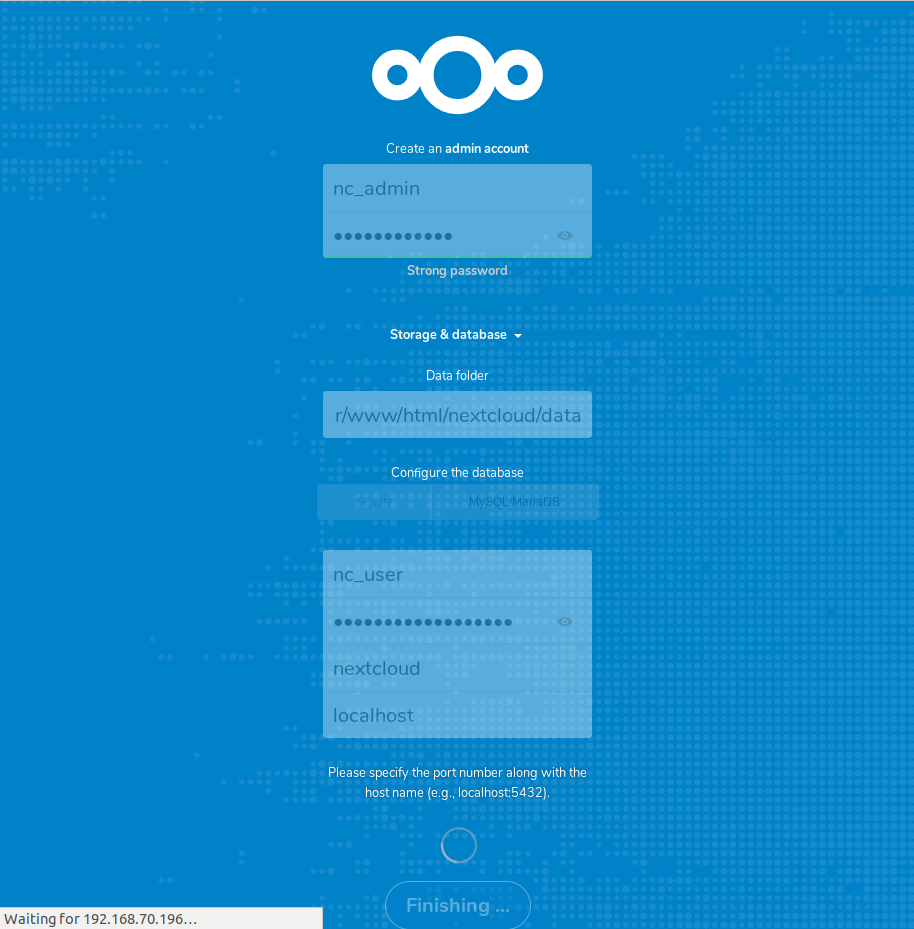
Qúa trình tạo tài khoản đang được thực hiện, nếu có lỗi vui lòng kiểm tra lại tài khoản MySQL
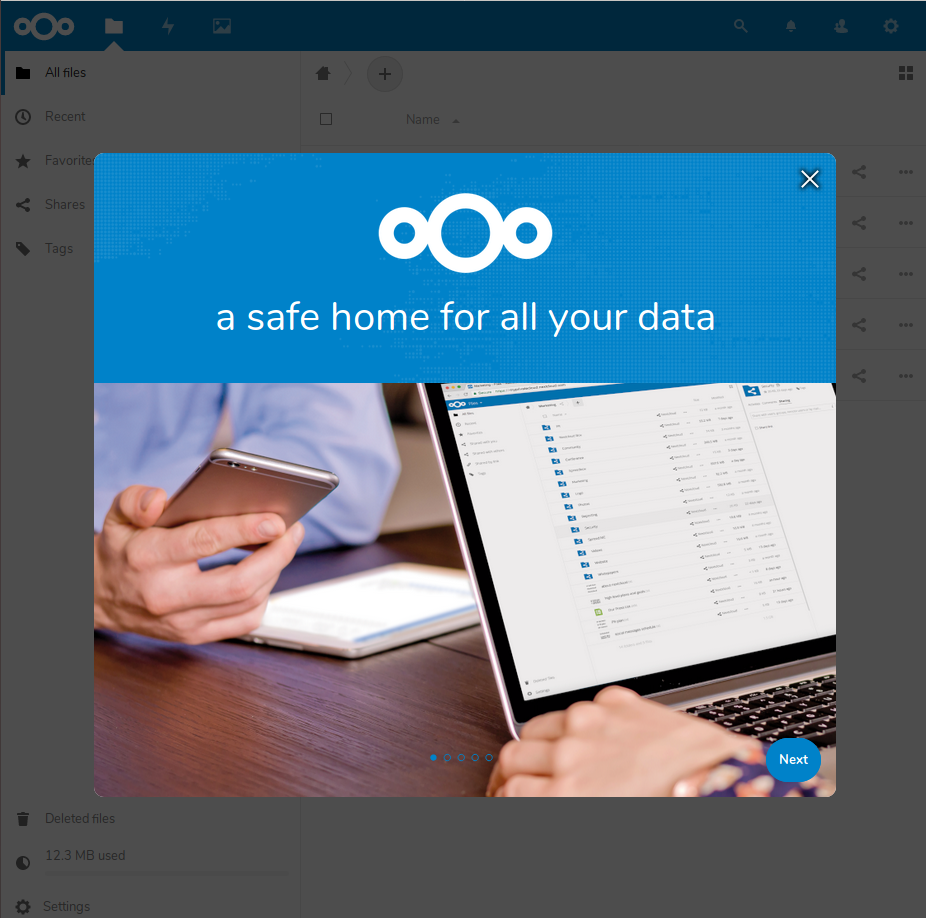
Giao diện đăng nhập
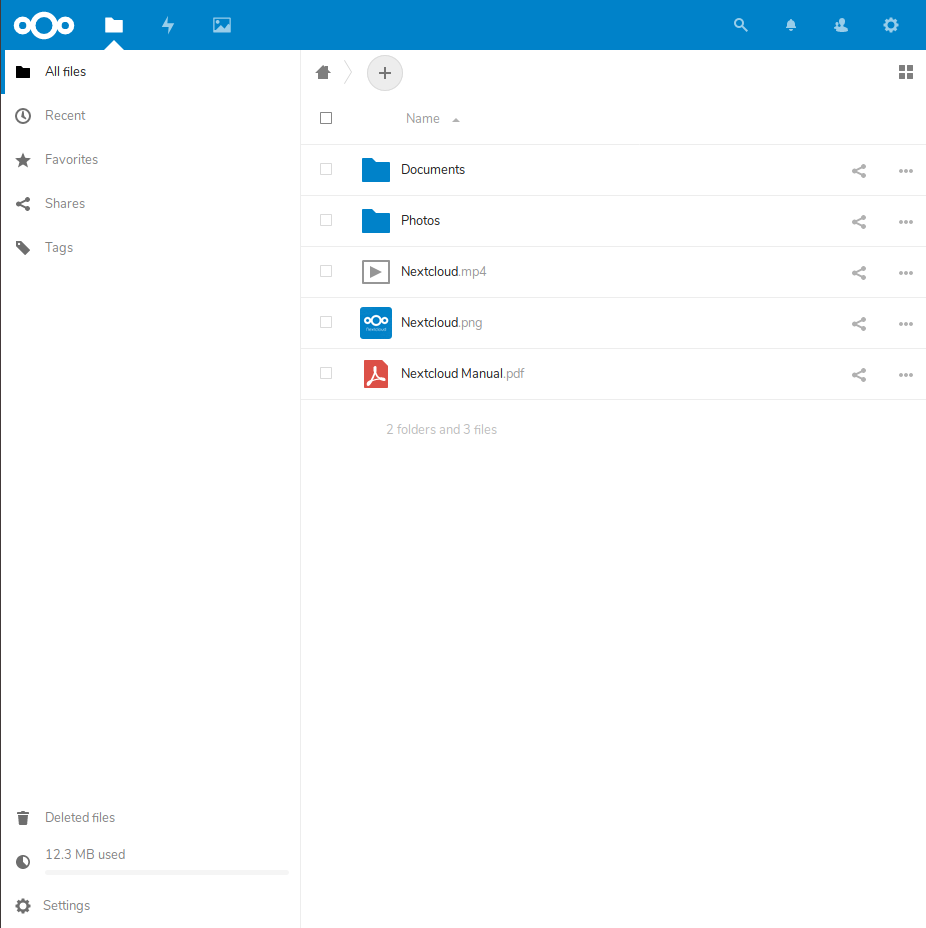
Giao diện người dùng
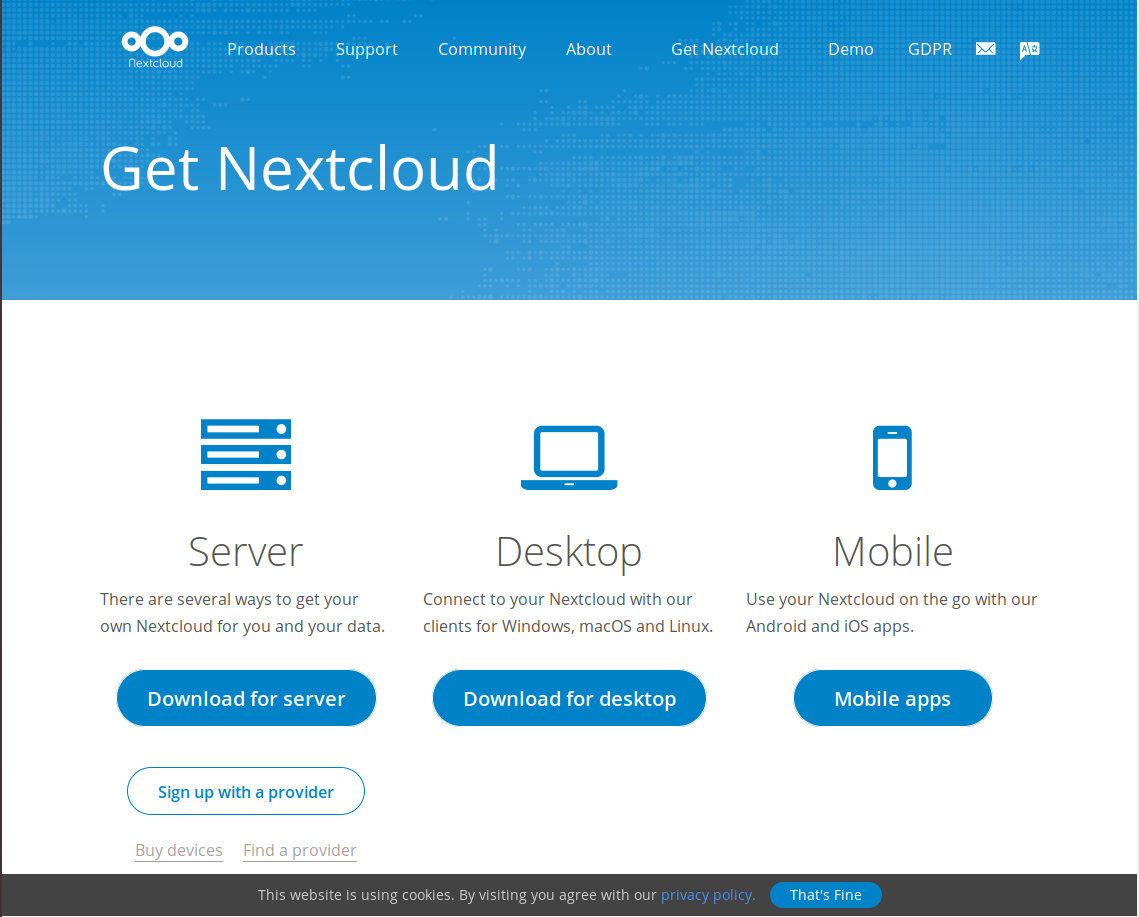
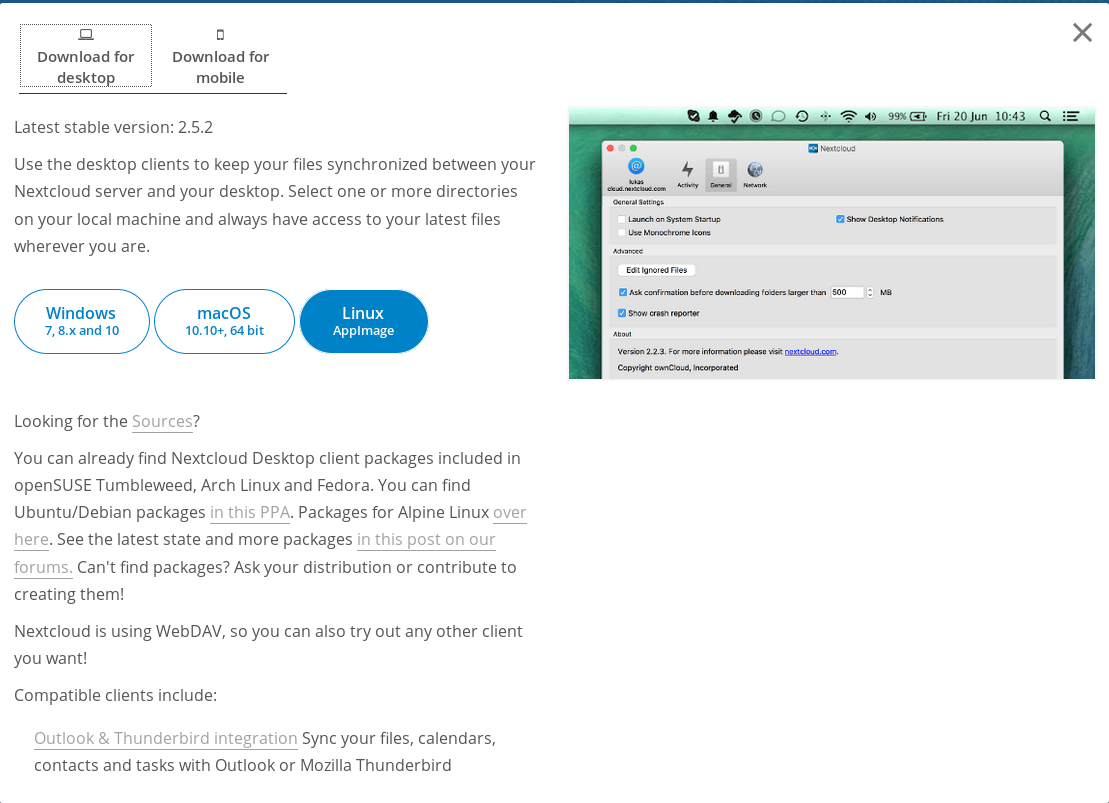
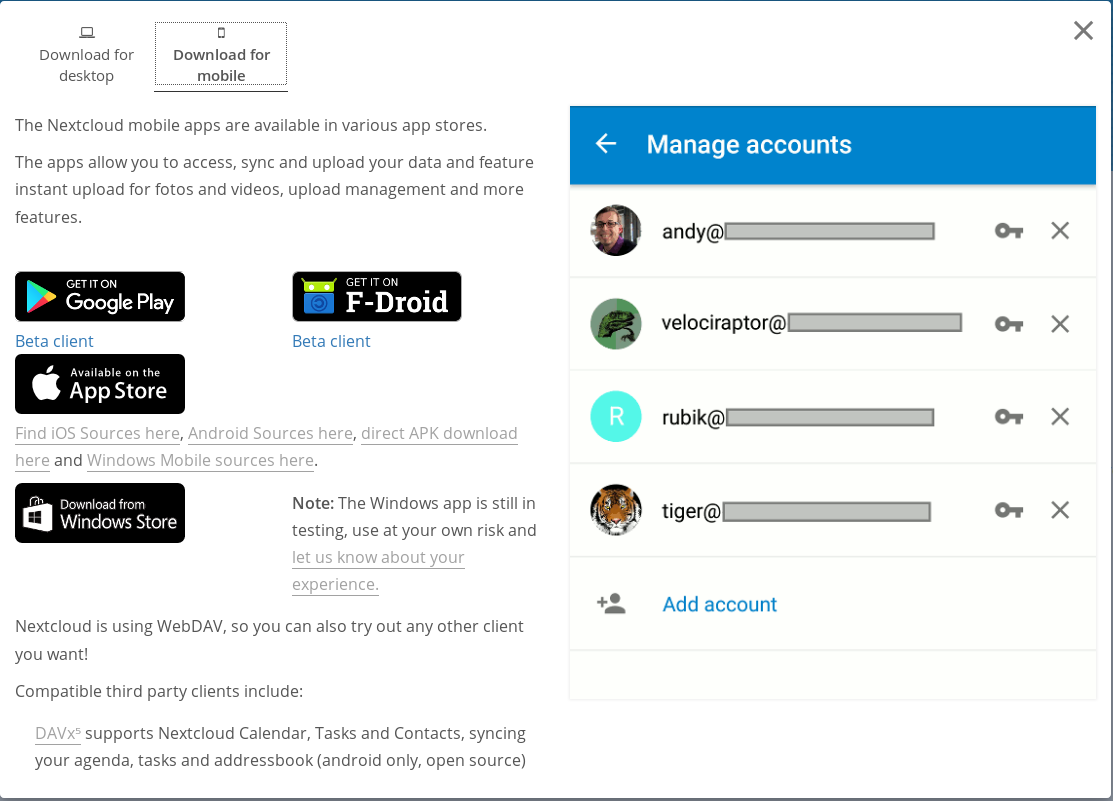
NextCloud hỗ trợ gần như đầy đủ các Client để kết nối vào Server download tại đây
Desktop
Mobile
Bây giờ bạn đã có một Cloud riêng để lưu trữ dữ liệu. Việc tạo thêm các tài khoản, phân chia tài nguyên kết nối, kết nối thêm các backend lưu trữ sẽ được cập nhật trong các bài tiếp theo. —
Thực hiện bởi cloud365.vn
Chuỗi bài viết hướng dẫn về Nextcloud
Cài đặt Nextcloud trên CentOS 7
Cài đặt Nextcloud trên Ubuntu18
Login với Nextcloud
Tạo User với Nextcloud
Nextcloud - Tạo Group và quản lý User theo Group
Nextcloud - Tạo, upload file và thư mục
Nextcloud - Share file và folder
Nextcloud - Chỉnh sửa ngôn ngữ hiển thị của User
Nextcloud - Cài đặt đồng bộ trên Windows, Linux
Nextcloud - Cài đặt đồng bộ trên Android, IOS
Nextcloud - Chỉnh sửa Quotas lưu trữ của User
Nextcloud - Cài đặt quản lý các ứng dụng